Oracle Linux is a robust and reliable operating system designed for enterprise workloads. Here are some of its key features:
- Unbreakable Enterprise Kernel (UEK): This custom kernel delivers enhanced performance, scalability, and reliability.
- Optimized for demanding workloads: Handles heavy-duty applications and databases efficiently.
- Strong security foundation: Built on the secure Red Hat Enterprise Linux (RHEL) codebase.
- Regular security updates: Proactive protection against vulnerabilities.
- Compliance certifications: Meets industry standards for security and data protection
Installing Docker and Docker Compose on Oracle Linux 9 can sometimes be challenging due to specific system requirements and package management nuances. This step-by-step tutorial will provide clear instructions and troubleshooting tips to ensure a smooth installation process.
Getting Started
Download Oracle Linux
Oracle Linux is freely available. Download it from the Oracle Linux yum server or Oracle Software Delivery Cloud.

Create a VM and select the version
Use VirtualBox or another virtualization tool to create a new VM. Allocate appropriate resources (RAM, CPU, Disk space) to your VM.
Install Oracle Linux
Boot from the downloaded ISO image and follow the installation prompts. Set up a root password during the installation. Create a user account (e.g., adesoji) and set a password as you see in the images below.


Install Docker Engine

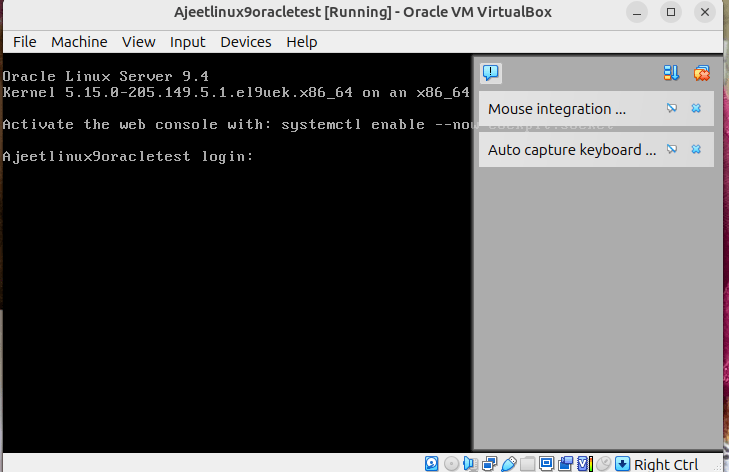
Once your Oracle Linux VM is set up as you see in the black screen image above, as an example, you can proceed with installing Docker.
Update System Packages
Open a terminal and update your system packages as you see below:
sudo yum update -y
Add Docker Repository
Add Docker’s official repository to your system’s yum sources list as you see in the image below:
sudo yum install -y yum-utils
sudo yum-config-manager --add-repo https://download.docker.com/linux/centos/docker-ce.repo
Install Docker Engine
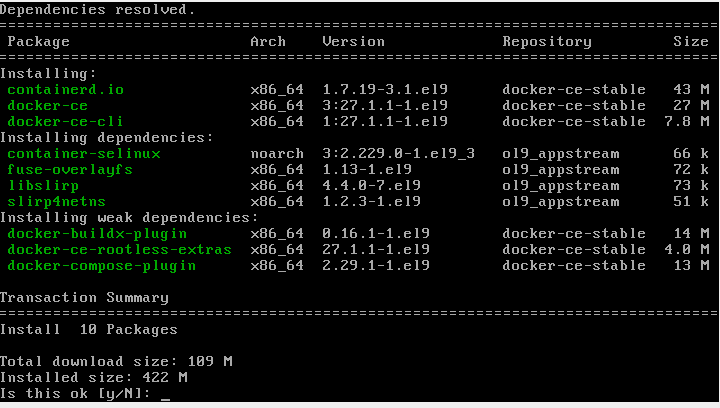
Install Docker Engine, CLI, and contained:
sudo yum-config-manager --add-repo https://download.docker.com/linux/centos/docker-ce.repo
sudo yum install docker-ce docker-ce-cli containerd.io

Start Docker Service
Enable and start the Docker service:
sudo systemctl enable docker
sudo systemctl start docker

Verify Installation
Verify that Docker is installed correctly by running:
sudo docker run hello-world
Manage Docker as a non-root user
Running Docker commands as a root user is not ideal for security reasons. Follow these steps to allow a non-root user to run Docker commands.
Add User to Docker Group
Create the Docker group if it doesn’t exist:
sudo groupadd dockerAdd your user to the Docker group:
sudo usermod -aG docker $USERsudo usermod -aG docker $USER
Apply Changes
Log out and back in or reboot your system to apply the changes.
Add users to sudoers file
If your user is not in the sudoers file, you’ll need to add them to allow executing commands with sudo.
Switch to Root User
If you know the root password, switch to the root user:
su -Enter the root password when prompted.
Edit sudoers File: Use the visudo command to edit the sudoers file:
visudoAdd the following line to grant sudo privileges to the user adesoji:
adesoji ALL=(ALL) ALLSave and Exit
Save the changes and exit the editor. In vi, press Esc, then type :wq and press Enter.
Conclusion
Congratulations! You have successfully installed Docker on your Oracle Linux VM, set up a non-root user to manage Docker, and added the user to the sudoers file. With Docker running smoothly, you can now start containerizing your applications, ensuring consistent deployment across development, QA, and production environments. Enjoy the benefits of Docker’s containerization on the robust Oracle Linux platform!
