
Have you ever wished you could build smart AI agents without shipping your data to third-party servers? What if I told you you can run powerful language models like Llama3 directly on your machine while building sophisticated AI agent systems? Let’s roll up our sleeves and create a self-contained AI development environment using Ollama and Microsoft’s AutoGen!
Why Go Local with LLMs?
Before we dive into code, let’s address the elephant in the room – why bother with local models when ChatGPT is just an API call away?
- Your Data Never LeavesNo more worrying about sensitive information sneaking into training data. Your conversations stay strictly between you and your machine.
- Zero Latency FrustrationEver waited seconds for an API response? Local models eliminate network hops, making agent interactions snappier than ever.
- Tinkerer’s ParadiseWant to fine-tune models or experiment with obscure parameters? Local setups give you full control without API limitations.
Our Tech Toolbox
- Ollama: Your local LLM powerhouse (supports Llama3, Mistral, Phi-3, etc.)
- AutoGen: Microsoft’s agent framework for creating AI dream teams
- Docker: Containerization magic for reproducible environments
- VS Code Dev Containers: Seamless development experience
Step 1: Containerized Setup
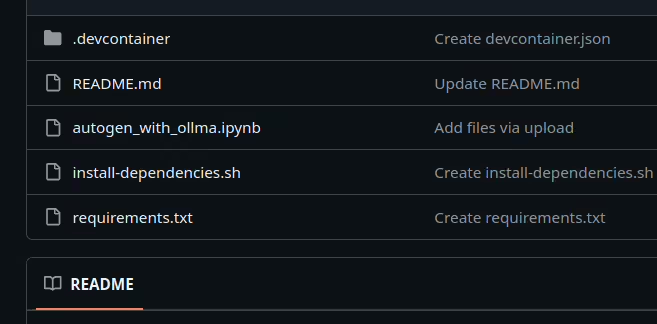
We’re using Docker to create a clean, reproducible environment. Here’s our folder structure:
project-root/
├── .devcontainer/
│   ├── devcontainer.json
│   └── Dockerfile
├── install-dependencies.sh
└── requirements.txt
devcontainer.json – Our environment blueprint:
{
  "name": "Local AI Playground",
  "build": { "dockerfile": "Dockerfile" },
  "postCreateCommand": "bash install-dependencies.sh",
  "customizations": {
    "vscode": {
      "extensions": ["ms-toolsai.jupyter"]
    }
  }
}
Dockerfile – Base image setup:
FROM mcr.microsoft.com/devcontainers/python:1-3.11-bullseye
Step 2: One-Click Dependency Installation
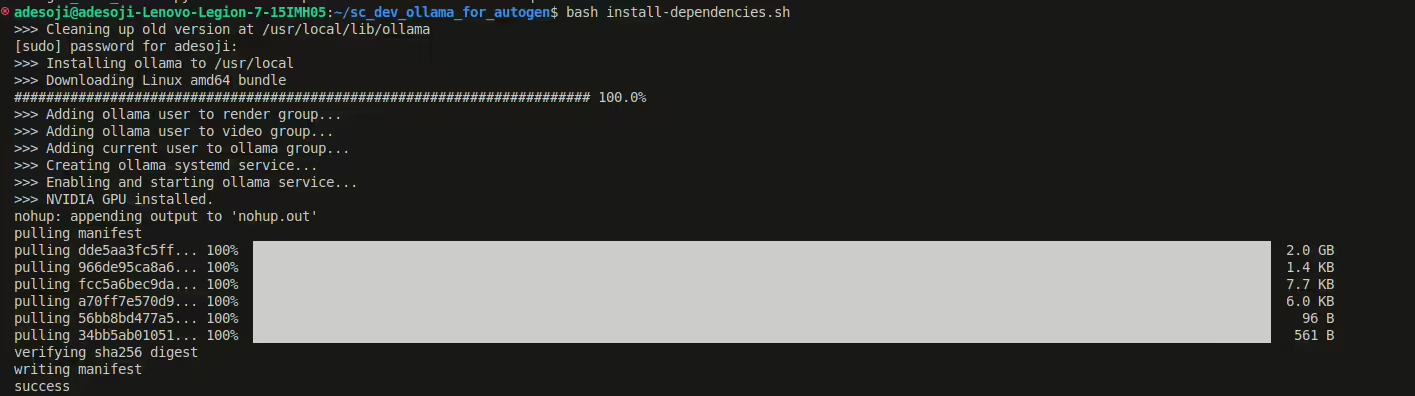
Our install-dependencies.sh handles everything:
#!/bin/bash

# --- Install Ollama ---
curl -fsSL https://ollama.com/install.sh | OLLAMA_VERSION=0.3.13 sh

# --- Start Ollama server in background ---
nohup ollama serve &

# --- Wait for warm-up ---
sleep 5

# --- Download a model ---
ollama pull llama3

# --- Create and activate a virtual environment ---
python3 -m venv venv
source venv/bin/activate

# --- Upgrade pip & install requirements ---
pip install --upgrade pip
pip install -r requirements.txt
This script:
- Installs Ollama
- Starts the LLM server
- Downloads the 8B-parameter Llama3 model
- Installs AutoGen and other Python goodies
Step 3: Crafting Our AI Agent Duo
Here’s our agent_chat.py demonstrating AutoGen’s magic:
from autogen import ConversableAgent, UserProxyAgent
import os
from dotenv load_dotenv
load_dotenv()
# Configure our local LLM connection
local_llm_config = {
  "config_list": [{

    "model": "llama3",  # Use your downloaded model name
    "base_url": "http://localhost:11434/v1",  # Ollama's API endpoint
    "api_key": "ollama"  # Authentication (required but unused)

  }],
  "cache_seed": None  # Fresh responses every time
}

# Create our AI participants
philosopher = ConversableAgent(
  name="Deep_Thinker",
  llm_config=local_llm_config,
  system_message="You are a philosopher who answers in profound one-liners."
)

user_proxy = UserProxyAgent(
  name="User_Proxy",
  human_input_mode="NEVER",  # Fully autonomous
  max_consecutive_auto_reply=1,
  code_execution_config=False  # Safety first!
)

# Kickstart the existential conversation!
response = philosopher.initiate_chat(
  user_proxy,
  message="What is the meaning of life? Respond in 10 words or less."
)

print(response.last_message()["content"])
When you run this, you’ll see Llama3’s raw, unfiltered perspective through Ollama!
Why This Setup Rocks
- Complete Control
Swap models with one line change: try “model”: “mistral” for different capabilities. - Security First
Your RAG pipelines and agent conversations never touch external servers. - Cost Effective
No API fees – once models are downloaded, you’re golden.
Pro Tips from the Trenches
🔹 Model Management
Check available models with:
bash
ollama list
Need more power? Try:
bash
ollama pull llama3:70b
🔹 Debugging Helpers
Tail the Ollama logs in a separate terminal:
bash
ollama serve > ollama.log 2>&1
🔹 Performance Boost
Add GPU support to Ollama by installing proper drivers:
CUDA for NVIDIA, Metal for Apple Silicon.
Where To From Here?
You’ve just built a foundation for:
- Local AI research assistants
- Confidential document analyzers
- Autonomous agent experiments
Collabnix says that the real magic happens when you start connecting agents into workflows. How about adding:
- A code-review agent using DeepSeek-Coder
- A document analysis agent with phi3
- A safety checker agent to keep responses appropriate
While cloud AI services are convenient, there’s something magical about running powerful language models on your own machine. It’s like having a genie in your laptop – one that respects your privacy and works at the speed of thought!
Are you ready to experiment? Clone the full setup from GitHub and start building your local AI dream team today with ollama and Autogen!