
Let’s create our own local ChatGPT.
In the rapidly evolving landscape of natural language processing, Ollama stands out as a game-changer, offering a seamless experience for running large language models locally. If you’re eager to harness the power of Ollama and Docker, this guide will walk you through the process step by step.
Why Ollama and Docker?
Think of Ollama as your personal LLM concierge. It sets up and manages your chosen model, making it readily available for your creative endeavors. Docker, on the other hand, acts as the friendly neighborhood containerizer, ensuring a smooth, isolated environment for your LLM to operate in. Together, they create a dream team for hassle-free LLM exploration.
Benefits of using Ollama and Docker together
- Simplicity: Ditch the complex configurations and dependencies. Docker handles the heavy lifting, letting you focus on what matters – interacting with your LLM.
- Isolation: Multiple LLMs? No problem! Docker keeps them neatly separated, preventing any unwanted intermingling.
- Portability: Take your LLM playground anywhere. Docker containers are platform-agnostic, so your AI companion can travel across Linux, macOS, and even Windows.
- Scalability: Need more LLM power? No worries! Docker lets you scale your environment by running multiple containers with ease.
Getting started:
- Install Docker: Download and install Docker Desktop for Windows and macOS, or Docker Engine for Linux.
- Grab your LLM model: Choose your preferred model from the Ollama library (LaMDA, Jurassic-1 Jumbo, and more!).
- Download the Ollama Docker image: One simple command (
docker pull ollama/ollama) gives you access to the magic. - Run the Ollama container: Customize it for your CPU or Nvidia GPU setup using the provided instructions.
- Open the Ollama web interface: Navigate to http://localhost:11434 and say hello to your LLM!
Beyond the basics:
- Send text prompts and receive creative responses. Imagine LLM-powered poems, code generation, and even scriptwriting!
- Fine-tune your model on your own data. Make your LLM a true reflection of your unique voice and interests.
- Explore a variety of LLM tasks: Translation, question-answering, code completion – the possibilities are endless.
Installing Ollama with Docker
CPU Only
To get started with the CPU-only version, simply run the following Docker command:
docker run -d -v ollama:/root/.ollama -p 11434:11434 --name ollama ollama/ollama
Nvidia GPU
Install the NVIDIA Container Toolkit:
curl -fsSL https://nvidia.github.io/libnvidia-container/gpgkey \
    | sudo gpg --dearmor -o /usr/share/keyrings/nvidia-container-toolkit-keyring.gpg
curl -s -L https://nvidia.github.io/libnvidia-container/stable/deb/nvidia-container-toolkit.list \
    | sed 's#deb https://#deb [signed-by=/usr/share/keyrings/nvidia-container-toolkit-keyring.gpg] https://#g' \
    | sudo tee /etc/apt/sources.list.d/nvidia-container-toolkit.list
sudo apt-get update
Configure Docker to use Nvidia driver:
sudo apt-get install -y nvidia-container-toolkit
Start the container:
docker run -d --gpus=all -v ollama:/root/.ollama -p 11434:11434 --name ollama ollama/ollama
Running Models Locally
Now that Ollama is up and running, execute the following command to run a model:
docker exec -it ollama ollama run llama2
You can even use this single-liner command:
$ alias ollama='docker run -d -v ollama:/root/.ollama -p 11434:11434 --name ollama ollama/ollama && docker exec -it ollama ollama run llama2'Let’s run a model and ask Ollama to create a docker compose file for WordPress.
docker exec -it ollama ollama run llama2
pulling manifest
pulling 22f7f8ef5f4c... 100% ▕██████████████████████████████████████████████▏ 3.8 GB
pulling 8c17c2ebb0ea... 100% ▕██████████████████████████████████████████████▏ 7.0 KB
pulling 7c23fb36d801... 100% ▕██████████████████████████████████████████████▏ 4.8 KB
pulling 2e0493f67d0c... 100% ▕██████████████████████████████████████████████▏   59 B
pulling 2759286baa87... 100% ▕██████████████████████████████████████████████▏  105 B
pulling 5407e3188df9... 100% ▕██████████████████████████████████████████████▏  529 B
verifying sha256 digest
writing manifest
removing any unused layers
success
>>> Write a docker compose file for WordPress
⠧
Sure, here is an example `docker-compose.yml` file for running WordPress:
```
version: '3'
services:
  wordpress:
    image: woorkshop/wordpress:latest
    ports:
      - "80:80"
    volumes:
      - ./wp:/var/www/html
    environment:
      WORDPRESS_DB_HOST: db
      WORDPRESS_DB_USER: username
      WORDPRESS_DB_PASSWORD: password
      WORDPRESS_SITE_URL: http://localhost
      WORDPRESS_SITE_WIDTH: 100%
      WORDPRESS_SITE_HEIGHT: 100%
    depends_on:
      - db....
Let's go through the file line by line:

* `version`: This line specifies the version of Docker Compose that the file is written for. In this
case, we are using version 3.
* `services`: This line defines a service called "wordpress".
* `image`: This line specifies the Docker image to use for the WordPress container. In this case, we are
using the official Woorkshop/WordPress image.
* `ports`: This line maps port 80 from the host machine to port 80 in the container. This allows us to
access the WordPress site through our web browser.
* `volumes`: This line mounts a directory on the host machine ("./wp") to the `/var/www/html` directory
inside the WordPress container. This allows us to store WordPress files outside of the container, but
make them accessible to the container.
* `environment`: This line defines environment variables that will be available inside the WordPress
container. In this case, we are setting the following variables:
	+ `WORDPRESS_DB_HOST`: The hostname of the database server.
	+ `WORDPRESS_DB_USER`: The username to use for database authentication.
	+ `WORDPRESS_DB_PASSWORD`: The password to use for database authentication.
	+ `WORDPRESS_SITE_URL`: The URL of the WordPress site.
	+ `WORDPRESS_SITE_WIDTH`: The width of the WordPress site (in percentages).
	+ `WORDPRESS_SITE_HEIGHT`: The height of the WordPress site (in percentages)....
Ollama WebUI using Docker Compose
If you’re not a CLI fan, then you might have to look at Ollama-webui project repository
git clone https://github.com/ollama-webui/ollama-webui
cd ollama-webui
version: '3.6'
services:
ollama:
# Uncomment below for GPU support
# deploy:
# resources:
# reservations:
# devices:
# - driver: nvidia
# count: 1
# capabilities:
# - gpu
volumes:
- ollama:/root/.ollama
# Uncomment below to expose Ollama API outside the container stack
# ports:
# - 11434:11434
container_name: ollama
pull_policy: always
tty: true
restart: unless-stopped
image: ollama/ollama:latest
ollama-webui:
build:
context: .
args:
OLLAMA_API_BASE_URL: '/ollama/api'
dockerfile: Dockerfile
image: ollama-webui:latest
container_name: ollama-webui
depends_on:
- ollama
ports:
- 3000:8080
environment:
- "OLLAMA_API_BASE_URL=http://ollama:11434/api"
extra_hosts:
- host.docker.internal:host-gateway
restart: unless-stopped
volumes:
ollama: {}Access the Ollama WebUI
Open Docker Dashboard > Containers > Click on WebUI port

Accessing WebUI

Pulling a Model
Mistral is a 7.3B parameter model, distributed with the Apache license. It is available in both instruct (instruction following) and text completion.

Update: This model has been updated to Mistral v0.2. The original model is available as mistral:7b-instruct-q4_0

Resources at your fingertips:
- Ollama Docker image documentation: https://github.com/jmorganca/ollama/blob/main/Dockerfile
- Ollama library: https://github.com/jmorganca/ollama
- Ollama GitHub repository: https://github.com/jmorganca/ollama/blob/main/.gitmodules
Keep Reading
-
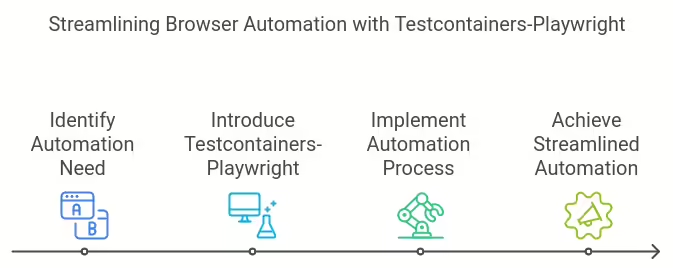
Testcontainers and Playwright
Discover how Testcontainers-Playwright simplifies browser automation and testing without local Playwright installations. Learn about its features, limitations, compatibility, and usage with code examples.
-

Docker and Wasm Containers – Better Together
Learn how Docker Desktop and CLI both manages Linux containers and Wasm containers side by side.
-

Docker DevTools Day 4.0 at Sony India: Where Containers, AI, and DevOps Meet
Docker DevTools Day 4.0 in Bengaluru was nothing short of spectacular, bringing together a vibrant community of developers, DevOps professionals, and tech enthusiasts. Held at the stellar venue arranged by Sony India Software Centre, the event saw over 500+ registrations and 147+ attendees. The excitement in the air was palpable as participants trickled in early, and by…
-
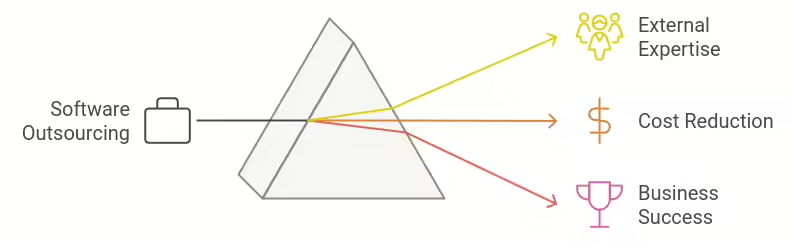
The Complete Guide to Software Outsourcing for Business Success
In today’s fast-paced digital landscape, businesses are constantly seeking innovative ways to stay competitive. One strategy that’s gained significant traction is software outsourcing. As I delve into this topic, I find that companies of all sizes are increasingly turning to external partners to meet their software development needs. This approach not only helps in cutting…
-
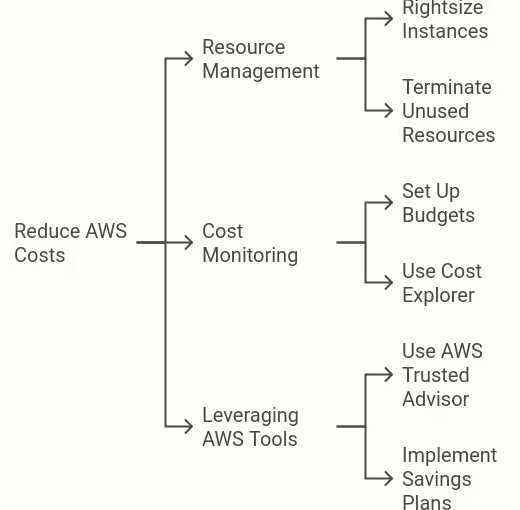
Top 5 Things You Can Do Today to Reduce AWS Costs – Cloudvisor Tips
Discover things you can do to cut off expenses on AWS. Use Amazon Web Services without overspending and use these tips for lower costs.