

The rapid adoption of cloud-based solutions in the IT industry is acting as the key driver for the growth of the internet of things (IoT) market. The top 3 reasons why small & medium enterprises are immensely adopting IoT solutions include maintaining the cost efficiency, productivity and operation enhancements in their business. IoT encompasses a set of advanced equipment (sensors and meters), network connectivity architecture, smart devices and software, that helps to interchange the information between machines and devices.
Why do we need IoT Monitoring?

If you talk about the state of monitoring IT systems, which include servers and services, there has been tremendous improvement. Monitoring tools and practices in the cloud-native world of microservices and Kubernetes are excellent at monitoring based on time-series metric data. But these tools aren’t designed specifically for monitoring IoT devices or physical processes.
IoT devices produce many types of information, including telemetry, metadata, state, and commands and responses. Telemetry data from devices can be used in short operational timeframes or for longer-term analytics and model building.If you’re looking out to bridge the gap between devices and business by collecting and analyzing diverse IoT data at web-scale across connected devices, customers and applications, IoT monitoring is of utmost importance.
IoT monitoring helps you to analyze dynamic systems and process billions of events and alerts.It basically helps in accelerating IoT development with immediate insight into performance across modern platforms, including Node.js, Docker containers and RESTful APIs. Not only this, it even helps you to bridge performance gaps by optimizing performance across multiple applications, APIs, networks and protocols.
Why Datadog?
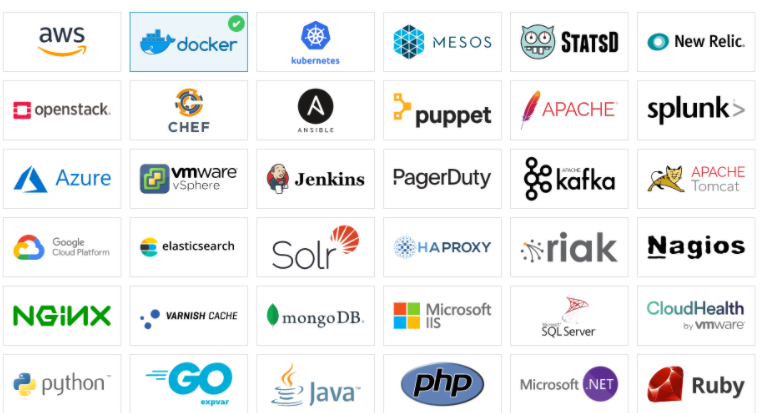
Datadog is a monitoring service for cloud-scale applications, providing monitoring of servers, databases, tools, and services, through a SaaS based data analytics platform. It supports over 400+ integrations, majorly with AWS, Microsoft Azure, Google Cloud Platform and Red Hat OpenShift service to name a few. 804 companies reportedly use Datadog in their tech stacks, including Airbnb, Facebook, and Spotify which is quite impressive figure.
Datadog helps developers and operations teams see their full infrastructure – cloud, servers, apps, services, metrics, and more – all in one place. This includes real-time interactive dashboards that can be customised to a team’s specific needs, full-text search capabilities for metrics and events, sharing and discussion tools so teams can collaborate using the insights they surface, targeted alerts for critical issues, and API access to accommodate unique infrastructures.
Under this post, we will go through the series of blog tutorials which shows how to setup Raspberry Pi from scratch, test driving datadog agent on Pi nodes using Docker container and then running K3s cluster. I have divided this tutorial into 2 parts. In Part-1 we will cover how to install datadog-agent Docker container on Raspberry Pi nodes and retrieve Pi system metrics onto the Datadog dashboard.
- Step #1: Preparing Raspberry Pi Cluster nodes
- Step #2: Installing Docker 19.03 on all Pi Nodes
- Step #3: Setting up Datadog Account
- Step #4: Installing Your First Datadog Monitoring Agent on Pi nodes using Docker container
- Step #5: Installing K3s Cluster on Pi nodes
- Step #6: Viewing Datadog dashboard
Step #1: Preparing Raspberry Pi Cluster nodes
Prerequisite:
- Macbook/Windows
- Raspberry Pi 3/4 nodes
- WGET software installed
- Raspberry Pi Imager
Installing Raspberry Pi OS
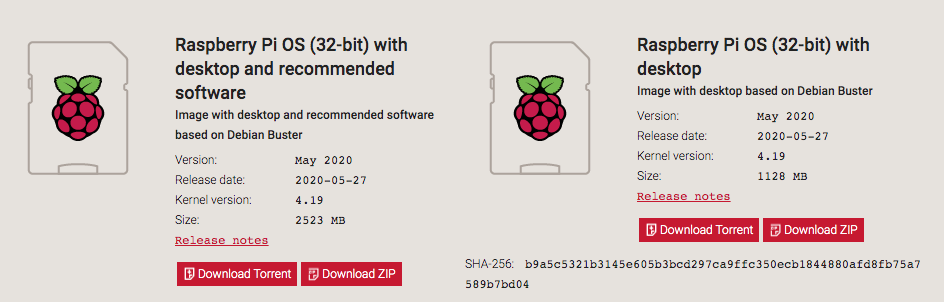
Raspberry Pi OS (previously called Raspbian) is an official operating system for all models of the Raspberry Pi. We will be using Raspberry Pi Imager for an easy way to install Raspberry Pi OS on top of Raspberry Pi:
Visit https://www.raspberrypi.org/downloads/raspberry-pi-os/ and download Raspberry Pi OS by running the below CLI:
| In case you are in hurry, just run the below command and you should be good to go: |
wget https://downloads.raspberrypi.org/raspios_full_armhf_latestUsing Raspberry Pi Imager
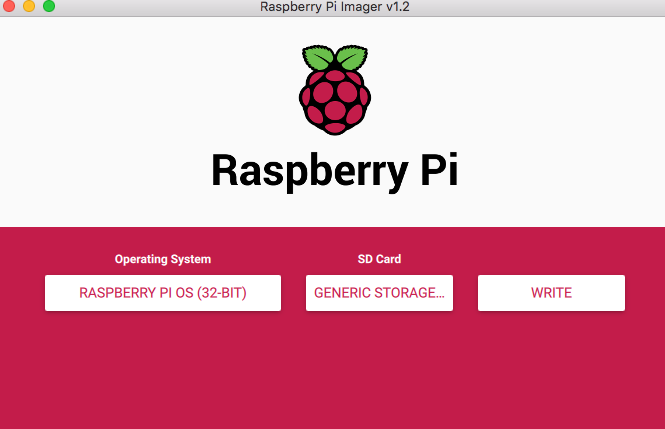
Next, we will be installing Raspberry Pi Imager. You can download via https://www.raspberrypi.org/blog/raspberry-pi-imager-imaging-utility/

All you need to do is choose the right operating system and SD card, and it should be able to flash OS on your SD card.

Click “Write” and it’s time to grab a coffee.
Once the write is successful, you can remove the SD card from card reader and then insert it into Raspberry Pi SD card slot.

SSH to Raspberry Pi nodes
$ssh pi@192.168.1.7$ssh pi @192.168.1.4
pi@raspberrypi:~ $ uname -arn
Linux raspberrypi 4.19.118-v7+ #1311 SMP Mon Apr 27 14:21:24 BST 2020 armv7l GNU/Linuxpi@raspberrypi:~ $
Step #2: Installing Docker 19.03 on each Pi nodes
sudo curl -sSL https://get.docker.com/ | shpi@raspi2:~ $ docker version
Client: Docker Engine - Community
Version: 19.03.4
API version: 1.40
Go version: go1.12.10
Git commit: 9013bf5
Built: Fri Oct 18 16:03:00 2019
OS/Arch: linux/arm
Experimental: false
Server: Docker Engine - Community Engine:
Version: 19.03.8
API version: 1.40 (minimum version 1.12)
Go version: go1.12.17
Git commit: afacb8b
Built: Wed Mar 11 01:29:22 2020 OS/Arch: linux/arm Experimental: false
containerd: Version: 1.2.10
GitCommit: b34a5c8af56e510852c35414db4c1f4fa6172339
runc: Version: 1.0.0-rc8+dev
GitCommit: 3e425f80a8c931f88e6d94a8c831b9d5aa481657 docker-init:
Version: 0.18.0
GitCommit: fec368
pi@raspi2:~ $Running Nginx Docker container
pi@raspi2:~ $ docker run -d -p 80:80 nginx
pi@raspi2:~ $ docker psCONTAINER ID        IMAGE               COMMAND                  CREATED             STATUS              PORTS                NAMESd7055f45bf23        nginx               "/docker-entrypoint.…"   2 minutes ago       Up About a minute   0.0.0.0:80->80/tcp   silly_maxwellpi@raspi2:~ $
Step #3: Creating Datadog Account

Datadog provide 14-days trial period for end-users and you can register for the monitoring service by visiting the official website https://www.datadoghq.com/
Datadog support 400+ integration and you can see the list of vendors as shown below. You can go ahead and choose your stack. As we are planning to run datadog agent inside Docker container, I will go ahead and choose Docker as of now.

Datadog provides step by step instructions for almost all OS distributions as shown below:

Open a terminal and paste the below command:
DOCKER_CONTENT_TRUST=1
sudo docker run -d --name dd-agent -v /var/run/docker.sock:/var/run/docker.sock:ro -v /proc/:/host/proc/:ro -v /sys/fs/cgroup/:/host/sys/fs/cgroup:ro -e DD_API_KEY=8411XXXXXXXXXXXXba3 achntrl/datadog-agent

sudo docker ps
CONTAINER ID        IMAGE                   COMMAND             CREATED             STATUS                             PORTS                NAMES
c43b639522fc        achntrl/datadog-agent   "/init"             37 seconds ago      Up 32 seconds (health: starting)   8125/udp, 8126/tcp   dd-agent
This runs a signed Docker container which embeds the Datadog Agent to monitor your Pi host. The Docker integration is enabled by default, as well as Autodiscovery in auto config mode.

You can open up Datadog Dashboard and verify if Raspberry Pi node is detected or not.
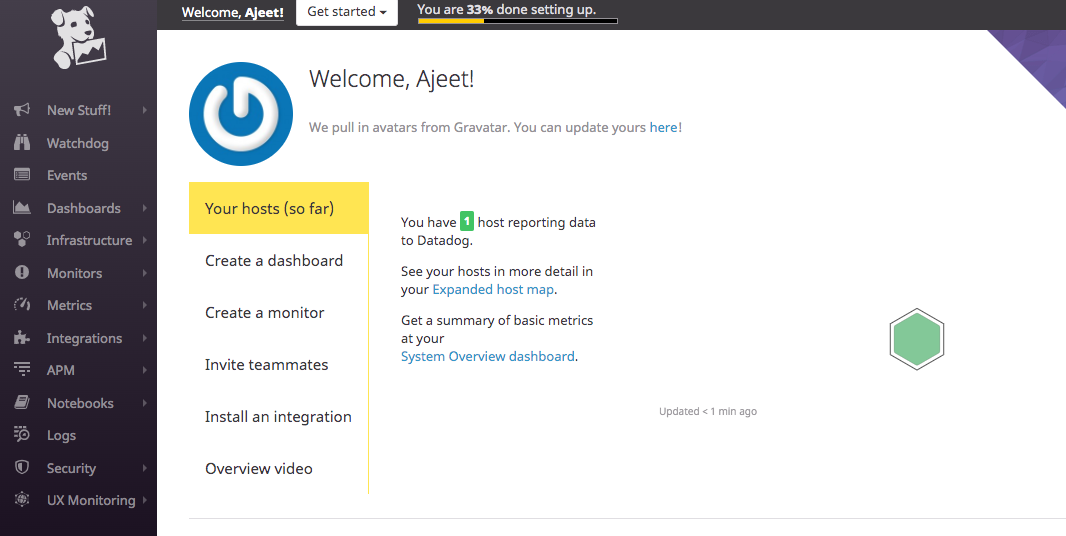
As shown below, the Raspberry pi node appear at the right hand side of the dashboard successfully.

Click on the node and you will see the detailed information as shown below.

Datadog provides fancy metrics for CPU, memory, load average, processor usage etc.

Running Datadog agent all the nodes
You need to repeat the below command on rest of the Pi nodes:
DOCKER_CONTENT_TRUST=1
sudo docker run -d --name dd-agent -v /var/run/docker.sock:/var/run/docker.sock:ro -v /proc/:/host/proc/:ro -v /sys/fs/cgroup/:/host/sys/fs/cgroup:ro -e DD_API_KEY=8411XXXXXXXXXXXXba3 achntrl/datadog-agent

sudo docker ps
CONTAINER ID        IMAGE                   COMMAND             CREATED             STATUS                             PORTS                NAMES
c43b639522fc        achntrl/datadog-agent   "/init"             37 seconds ago      Up 32 seconds (health: starting)   8125/udp, 8126/tcp   dd-agent
Visualising both the Pi nodes on Datadog Dashboard

You will see system metrics details around both the nodes as shown below:

Visualising both the Pi nodes

Hence, we are able to run datadog agent inside Docker containers and get it visualised under Datadog dashboard. In Part-2, we will see how to install K3s cluster on 2-Nodes cluster and then run datadog agent using Helm.
Comments are closed.